Last week I suddenly decided it was time I erected the blackberry frame. The forecast was for a dryish Thursday and Friday, so on Thursday I dug the holes, and on Friday I went to B&Q to get the posts and cross-pieces. However, the rain was already taking no notice of the forecast on Friday, and there was no hope of it letting up over the weekend, so I put the wood in the garage and waited.
And then, this week, we had a dry spell. I had planned to dig the holes a little deeper, but was impeded by the fact that they contained about 8 inches of water. It was a messy job, but I managed to get them 2 feet deep. My boss had said a good depth for the holes was a third of the length of the post, but I wasn’t falling for that sort of thing again (see the entry for the octagonal pond construction). I went out and bought some Postcrete. I had been been unsure about whether to use Postcrete, because the bag said it set in only 5-10 minutes and I thought I might not have time to get the post positioned right before it was too late, but I had a chat with a man putting up next door’s fence some weeks ago, and he said that actually you did get time to move the posts if necessary. And he did make it look very easy.
The instructions said I needed one 20kg bag per hole, but Postcrete’s idea of a hole was: 20 cm square, containing a 10 cm square fence post and 75 cm deep. My idea of a hole was: 18 cm square, containing an 8 cm square fence post and 60 cm deep. By my calculations, a bag of Postcrete should do 22500 cubic centimetres. As one of my holes was only 15600 cubic centimetres, I thought that two bags should do three of my holes.
Just because a professional makes something look easy, it doesn’t mean it is, but putting posts in really is easy, and I put them in yesterday. You measure carefully where you want the post, and then let it lean against one side of the hole or another while you pour in the Postcrete, and then when there’s enough in there, you use a spirit level against two sides of the post to get it level, and keep checking it is level for a few minutes until it stops moving about when you let go. It is probably slightly easier if you have someone else to hold the post, but it’s not necessary. The one thing I did wrong was to forget to check the height of the second post compared to the first one. That was a silly mistake. Also, the Postcrete did not obey simple GCSE maths and it turned out that two-thirds of a bag really did only do two-thirds of a hole.
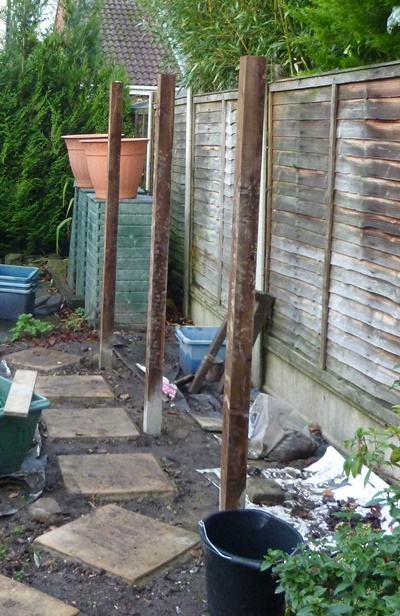
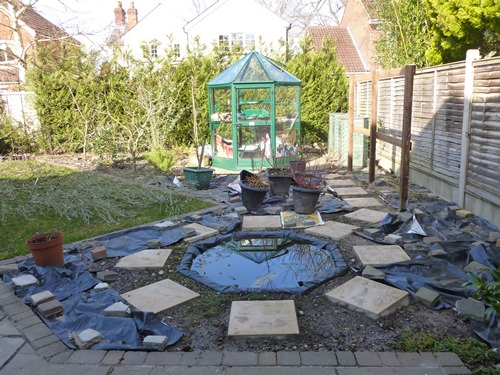
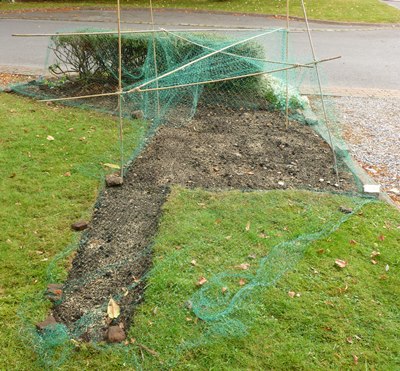
Posts for blackberry frame
Just to be clear on one thing: my posts are not parallel to the fence posts because the fence posts are wonky. My posts are properly levelled. Anyone who doesn’t believe me is welcome to come round with their spirit level.
In the afternoon I was going to screw the cross-pieces onto the posts. A YouTube video said that it was all right to do that after four hours, but the posts didn’t feel very secure, so I decided to fill up the rest of the space in the holes with some mortar instead. I had nearly a whole bag of cement left over from laying the paving, and some sand, so I mixed my own and interspersed it with stones until the light failed.
This morning I finished off adding the mortar, bringing it up to just above ground level and sloping the surface away from the posts so that the posts will not have damp soil or puddles against them at ground level. The posts look better if you put soil around them, but I don’t want to be replacing the posts in five years’ time.
In the afternoon I attached the cross-pieces. I was very glad I had waited 24 hours after erecting the posts because they felt a lot sturdier this time. If you are wondering why I didn’t just wait a week or two to make absolutely sure, the reason is that I did that when my dad erected a raspberry frame in the summer of 1996. The posts all warped in the meantime, making it very difficult to fit any cross-pieces to it and making the whole edifice look very wonky. This time the posts didn’t get a chance to warp, and this is the result.
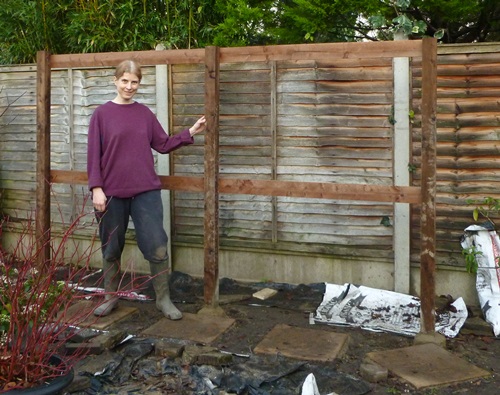
Blackberry frame finished
I may later saw a few centimetres off the left hand post to make it level with the others. It depends on whether I think anyone will care. Apart from that, the only thing left is to attach some eyes and wires to the frame so I can tie some blackberries to them. And do quite a lot of tidying up.