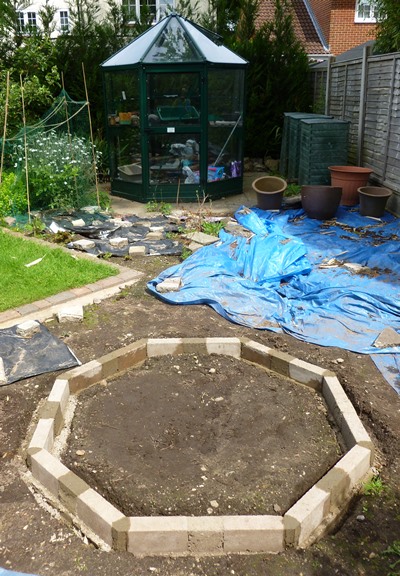
Filling the pond
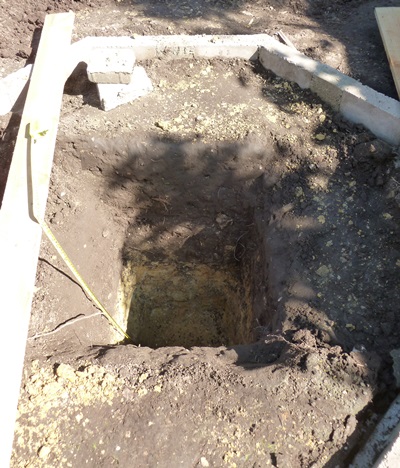
After digging out the interior of the pond yesterday, today’s job was to put the liner in and fill it up with water. I had plenty of leftover liner from my other ponds to use as underlay. The instructions said I should use sand underneath the underlay but I thought that was not going to be possible for a pond with such steep edges as mine. I think it’ll be all right with just the underlay.
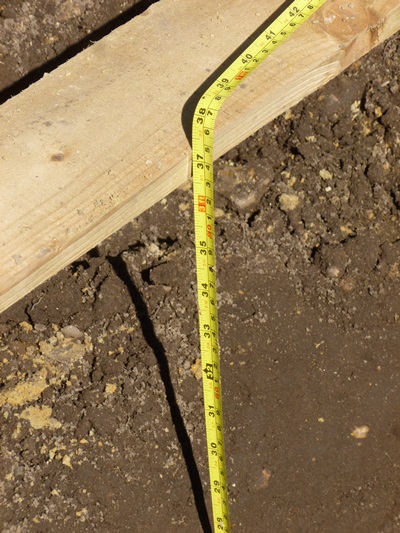
My liner measured 4m by 4m. That is big. I opened it out and then folded the edges towards the middle, and put it into position, then opened out the folded edges. That part was quite easy. The hard bit was trying to arrange the folds neatly. I bought a PVC liner rather than a butyl one because when I went to the garden centre, they didn’t have any butyl liner the right size. Although the PVC was much cheaper, it has the disadvantage of being more rigid than the butyl liner. The butyl liner would have been easier to arrange in folds, I think. I decided to have a rest from trying to deal with the folds, and went in and had a cup of tea. Then I decided that I needed a tuck at each vertex and went out and had another go. By then the sun had come out and the liner had softened a bit in the heat, so the job was easier.
I started filling the pond up from my water butts. I managed to get nearly up to the top before the water ran out. As I don’t want to use tap water if I can help it, I will have to wait for some rain before going any further. I also have the pleasant prospect of spending an hour at a garden centre, choosing some aquatic plants to go in them. In the meantime I pulled out some pondweed from my raised pond, rinsed the green slime off it, and gave it to the new pond to be going on with. I will let the pond settle, and then trim off the excess pond liner and bury the overhang.
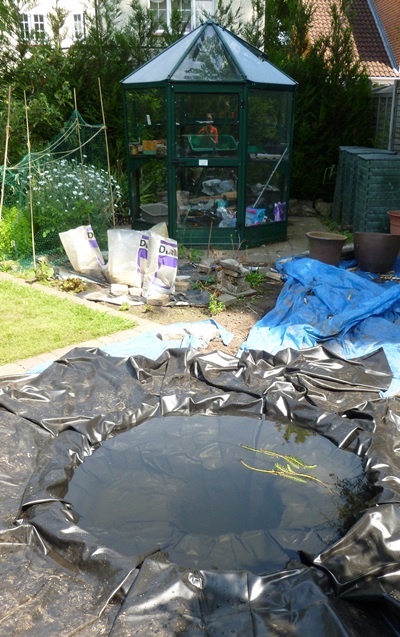
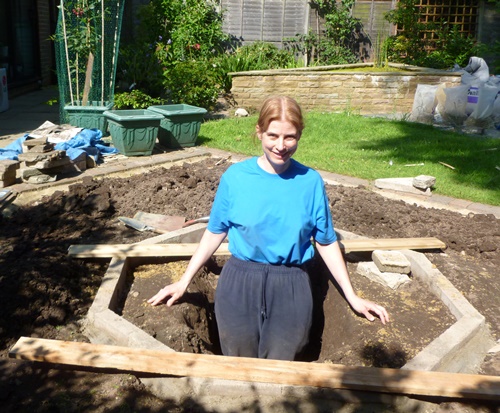
Octagonal pond almost full
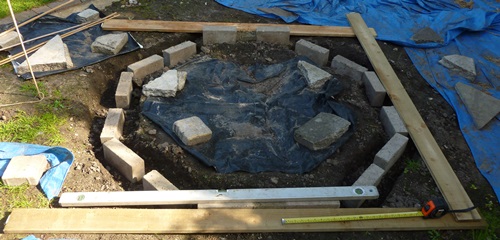
I think the shallow sloping areas (front and back) will encourage birds to splash around. I may glue some cobbles onto the liner on the slope. Note that I will definitely glue them on. If any loose cobbles fall in the pit in the centre they will never be seen again. I am also going to use plants around the pond to partly overlap the liner and maybe a few rocks here and there. I don’t want the shape of the pond to be concealed after all the trouble I went to to make it a regular octagon.