A break in the weather
Suddenly we got a mild day with no rain forecast, and so it was time to lay the first stepping stone. I had already dug the hole for it. I hammered in two pegs (small pieces of Leylandii branch) to mark the level of the top of the slab. Then I buried some rubble from the path that I broke up, thumped it with a piece of wood to compact it, filled in the gaps with smaller pieces of rubble and soil, then compacted it again. I put a layer of sharp sand down, and compacted that. Then I made some mortar in the ratio 4 litres of sharp sand to 1 litre of cement, and put it on top of the sand.
At this point I realised that I was going to have to make an awful lot of mortar. I read somewhere that a good depth was 5 cm of mortar, and that’s about what I put down. I made five batches using 5 litres of dry mix and it was hard work. But I did it. I used my small spirit level to make sure the mortar mix was level, and then put my paving slab down, and it did come to the right height. But it wasn’t level! I felt very aggrieved about that, given that I had thought my foundation was level. Tapping the highest bits of the slab with the mallet in the hope of making them a bit lower made very little difference, so I had to lift the slab and scoop out bits. Eventually I decided that it was good enough, and that the slab had an uneven surface so was never going to come out perfectly level anyway. I stood a few feet from it and looked at it carefully and decided that it looked perfectly all right, which is the only test that matters.
I was thinking of laying a second slab tomorrow because the weather may be all right then too, but I think I probably won’t. One reason is that my wrist and back are a bit tired from today’s exertions. Another is that I want to make sure the paving slab is set so if I stand on it, it won’t matter. But the main reason is that I want to see whether my job is good enough quality – will the slab stay put without wobbling or not?
I am pretty sure I over-engineered this stepping stone. I could do all the others the same way, but it’s a lot of labour and a lot of materials. Next time I will use more rubble and about half the amount of mortar.
There wasn’t much point in taking a picture of the stepping stone because it just looks like a stepping stone, but so that this entry can have a picture, here is an overview of the mess the garden is currently in.
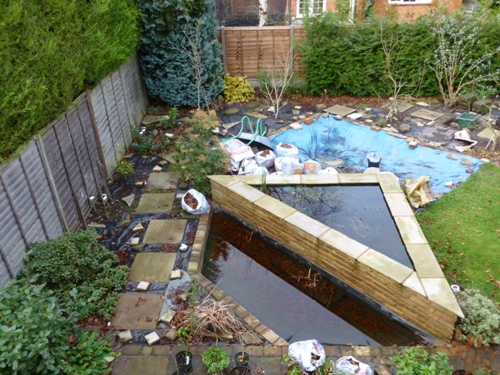
Overview of the garden in January
The stepping stone I laid is at the extreme right of the picture, next to the green plastic pot. You will notice that there are a lot of white bags. These are the charity bags that come through my door every few weeks and they are all full of leaves. I will have to find another home for the leaves because the plastic in the bags doesn’t survive being outside for very long.


